Housing
Check parts and clear openings.

Assembly
After printing, all parts came together: housing, pumps, tubes, electronics and display. Here is the documentation of how that happened step by step.
Assembly sequence
Check parts and clear openings.
Insert pumps and route tubes.
Connect Raspberry Pi, relay and power supply.
Boot the Pi and test everything thoroughly.
Step 1
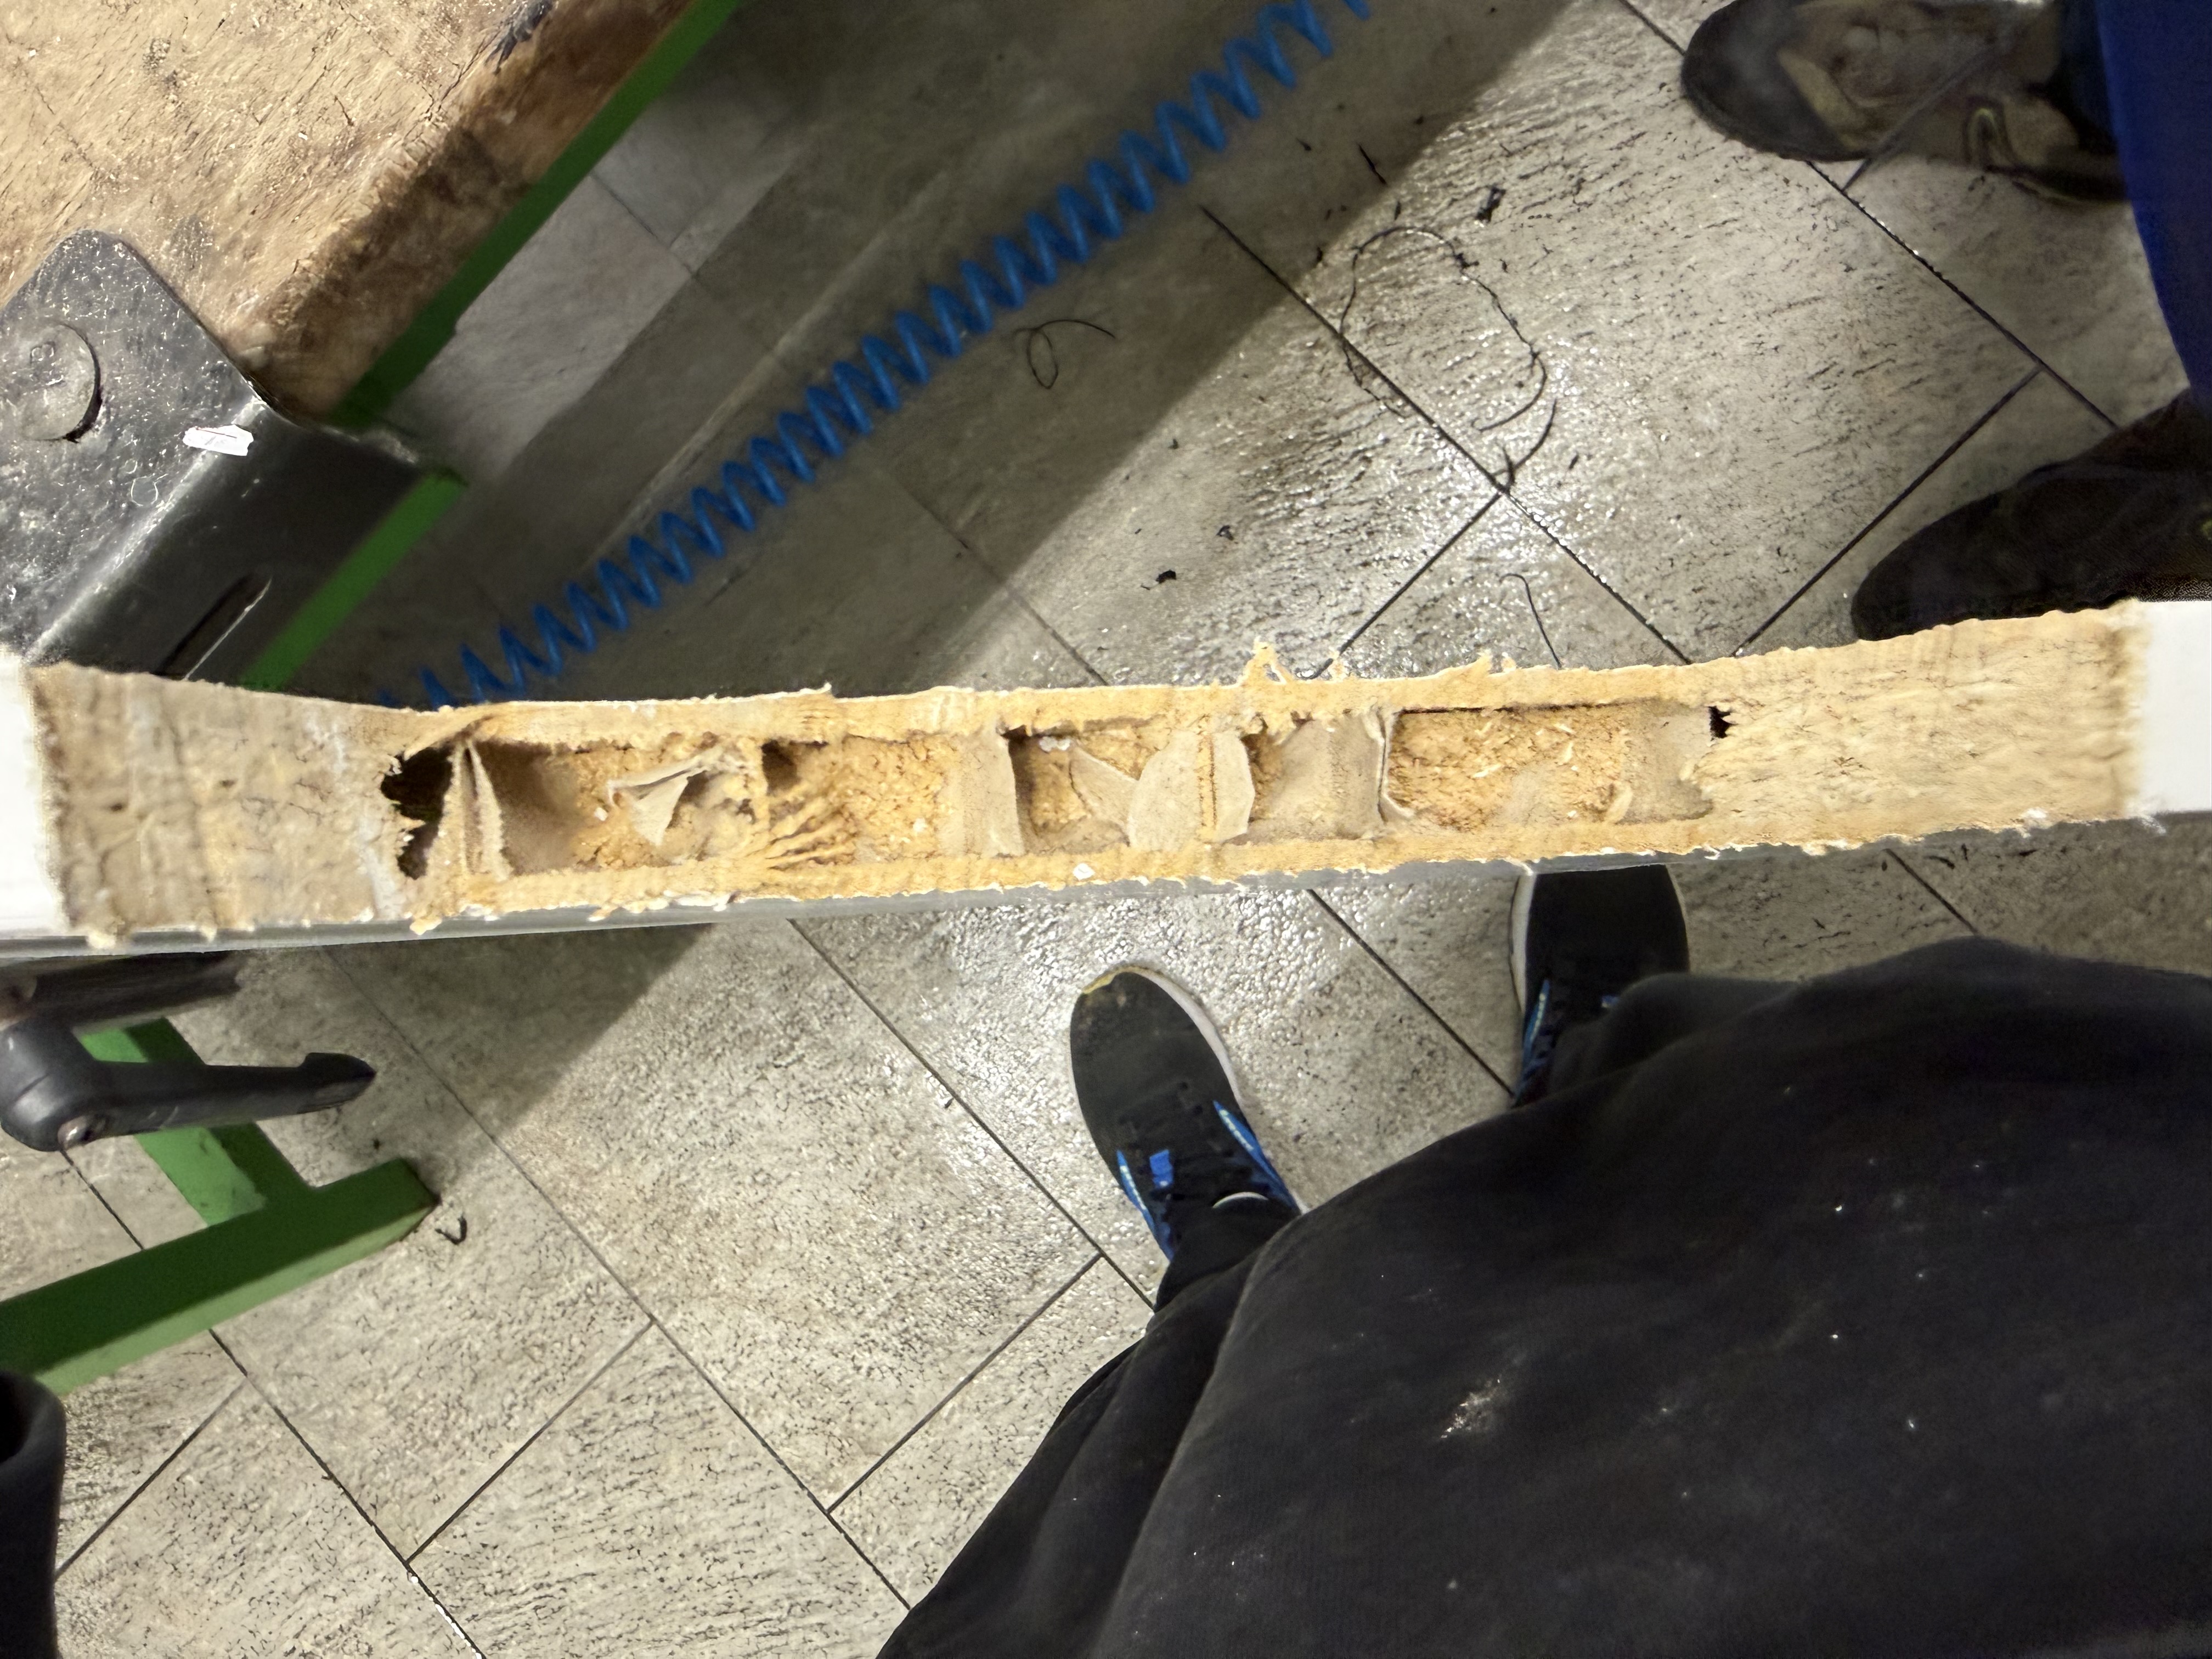
First, all parts were prepared: Sawing openings? Are the openings for cables, tubes and the display large enough? Whatever was still in the way was smoothed out or reworked.
This sounds like little, but if the housing is not right, the rest causes problems.
Step 2
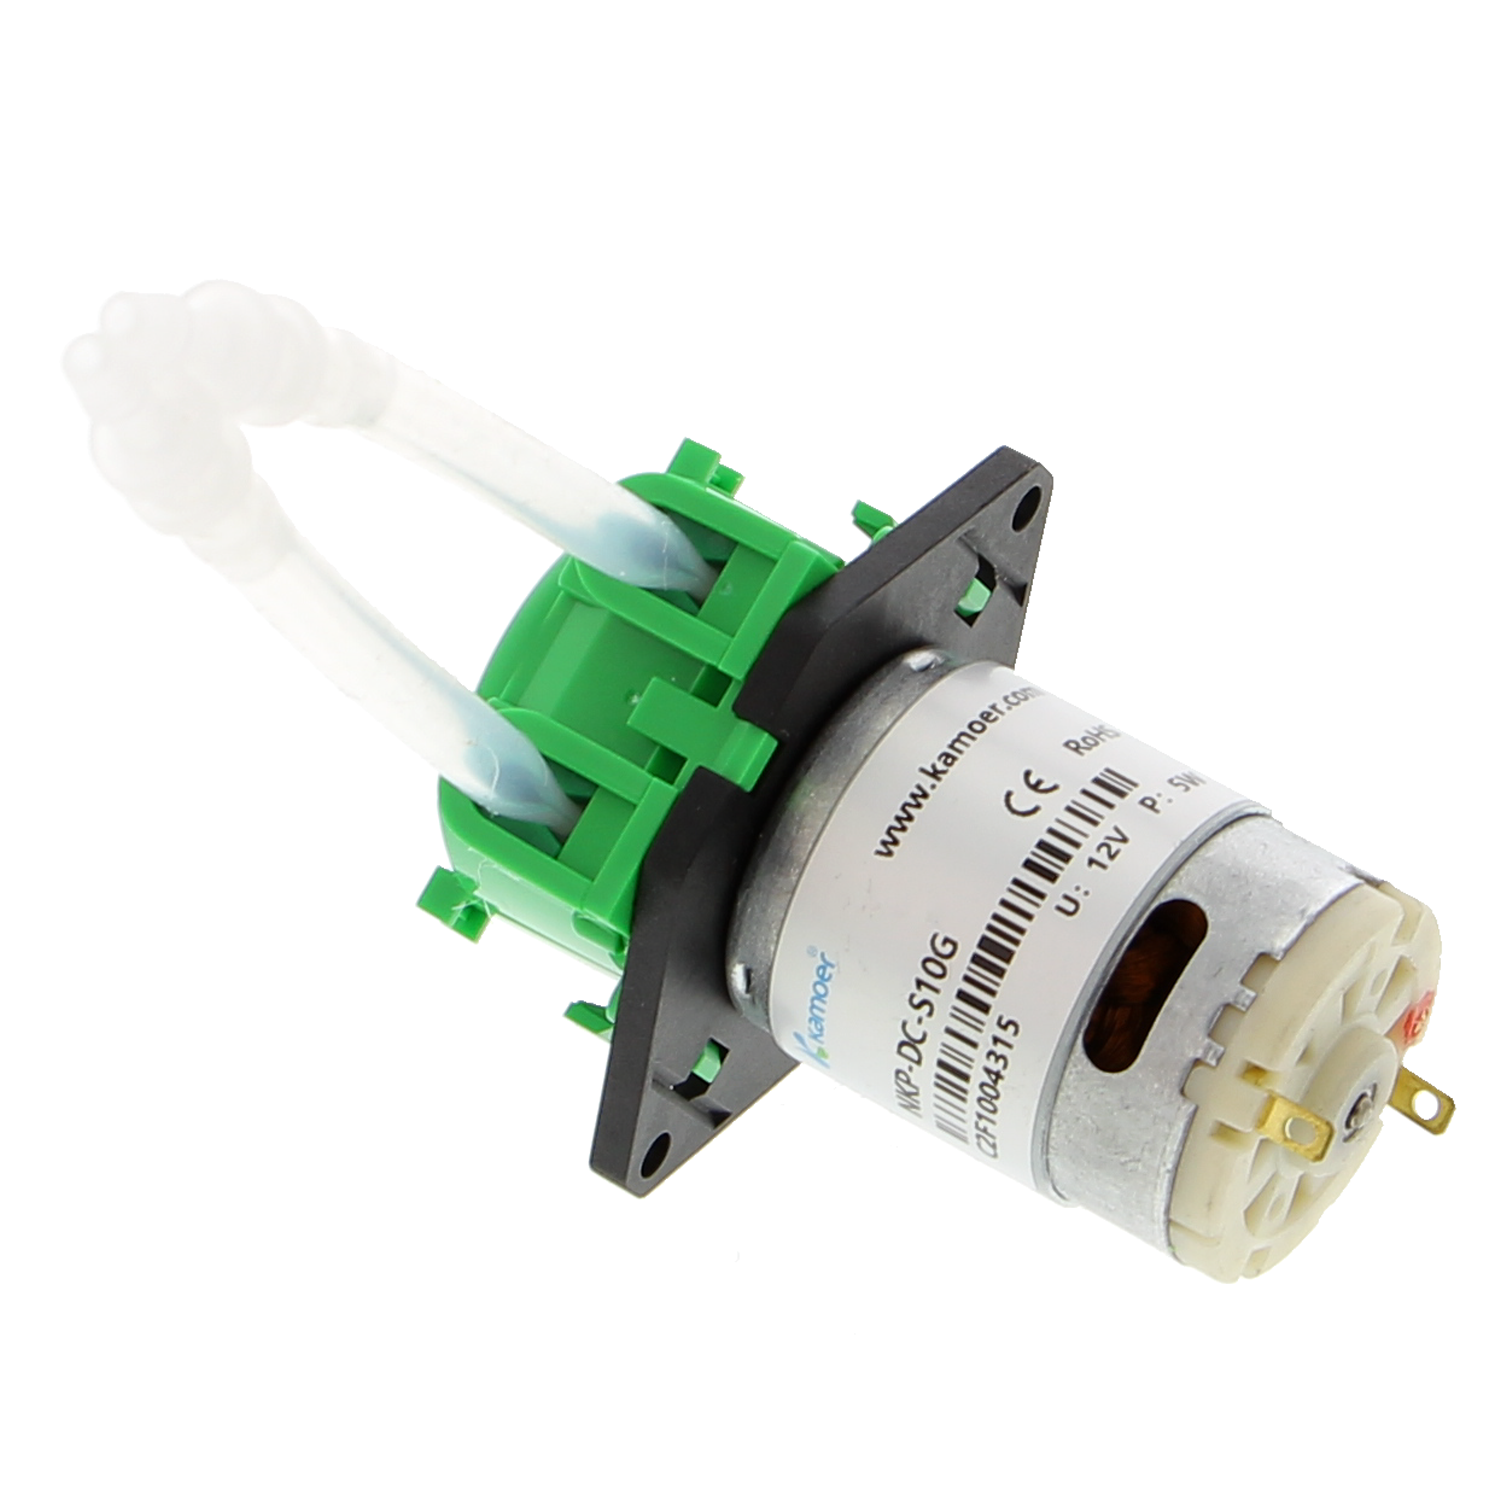
The pumps were secured and wired up. Then the tubes were connected — from the container through the pump to the outlet.
Tubes must not kink, otherwise the pump does not feed properly. That actually did not work on the first attempt and had to be re-routed.
Step 3
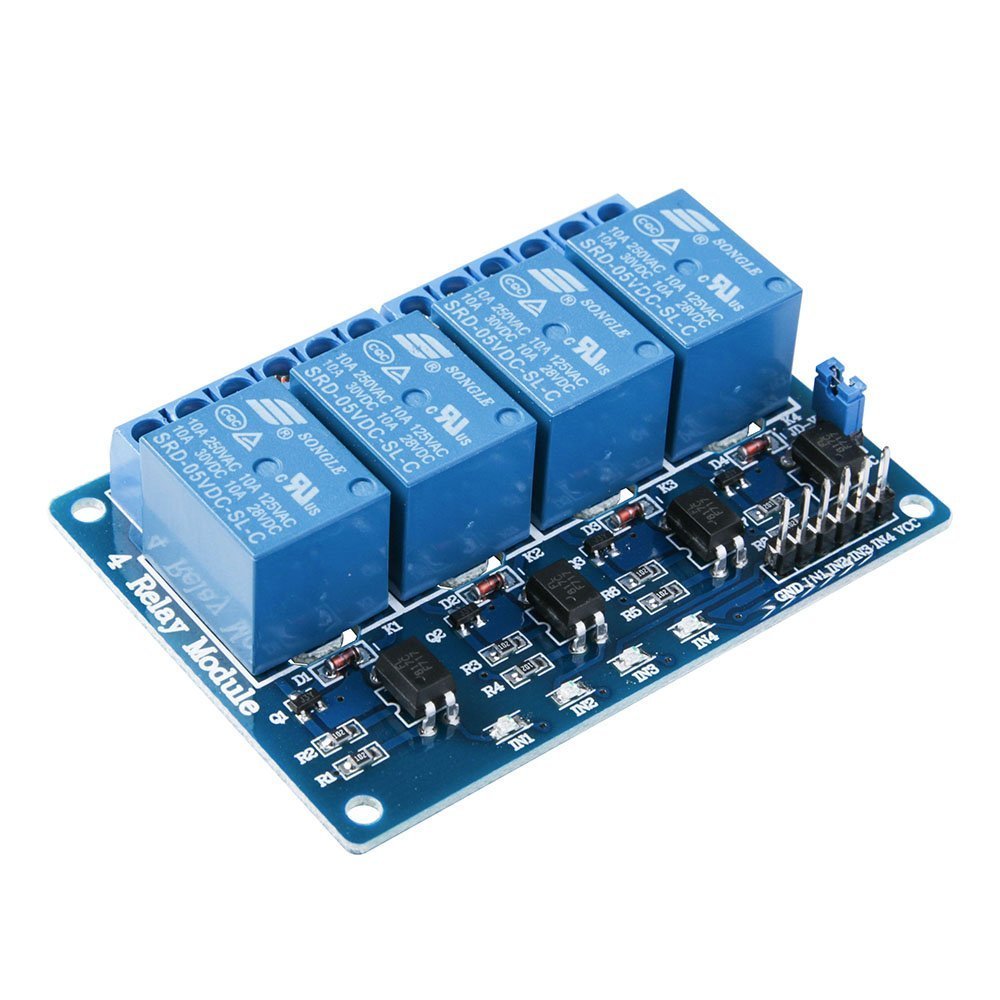
Raspberry Pi, relay module and power supply were positioned inside the housing and wired up. The GPIO pins of the Pi control the pumps via the relay.
Before applying power, I checked all connections one more time. Better to look once too many than to burn something out.
Step 4
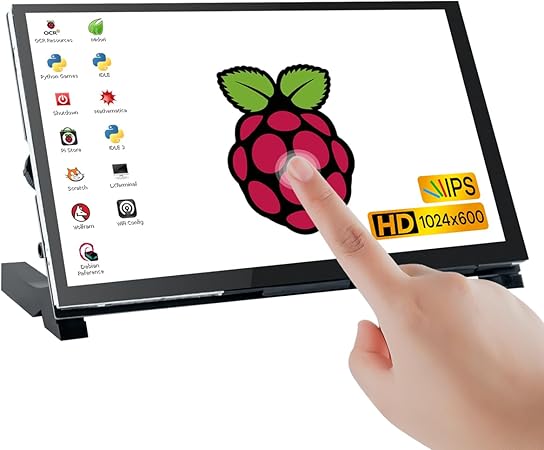
The touch display was installed and connected to the Pi. Then came the first real test: start the UI, select a drink and see whether the correct pump starts running.
It didn't quite work on the first attempt — then the problem was fixed and everything was tested again.
Looking back
Because all dimensions and openings were already considered during printing, there were hardly any problems during installation. That was the moment where it became clear whether the planning beforehand had been right — and it had been.