Modelling
Define outer shape, mounting points and installation positions digitally.

Manufacturing
Manufacturing SAFTI was not just about printing individual parts. First the housing had to be prepared, then the components were assembled, tested and made ready for final assembly.
Manufacturing flow
Define outer shape, mounting points and installation positions digitally.
Produce parts layer by layer and check them.
Smooth edges, clear openings and check fit.
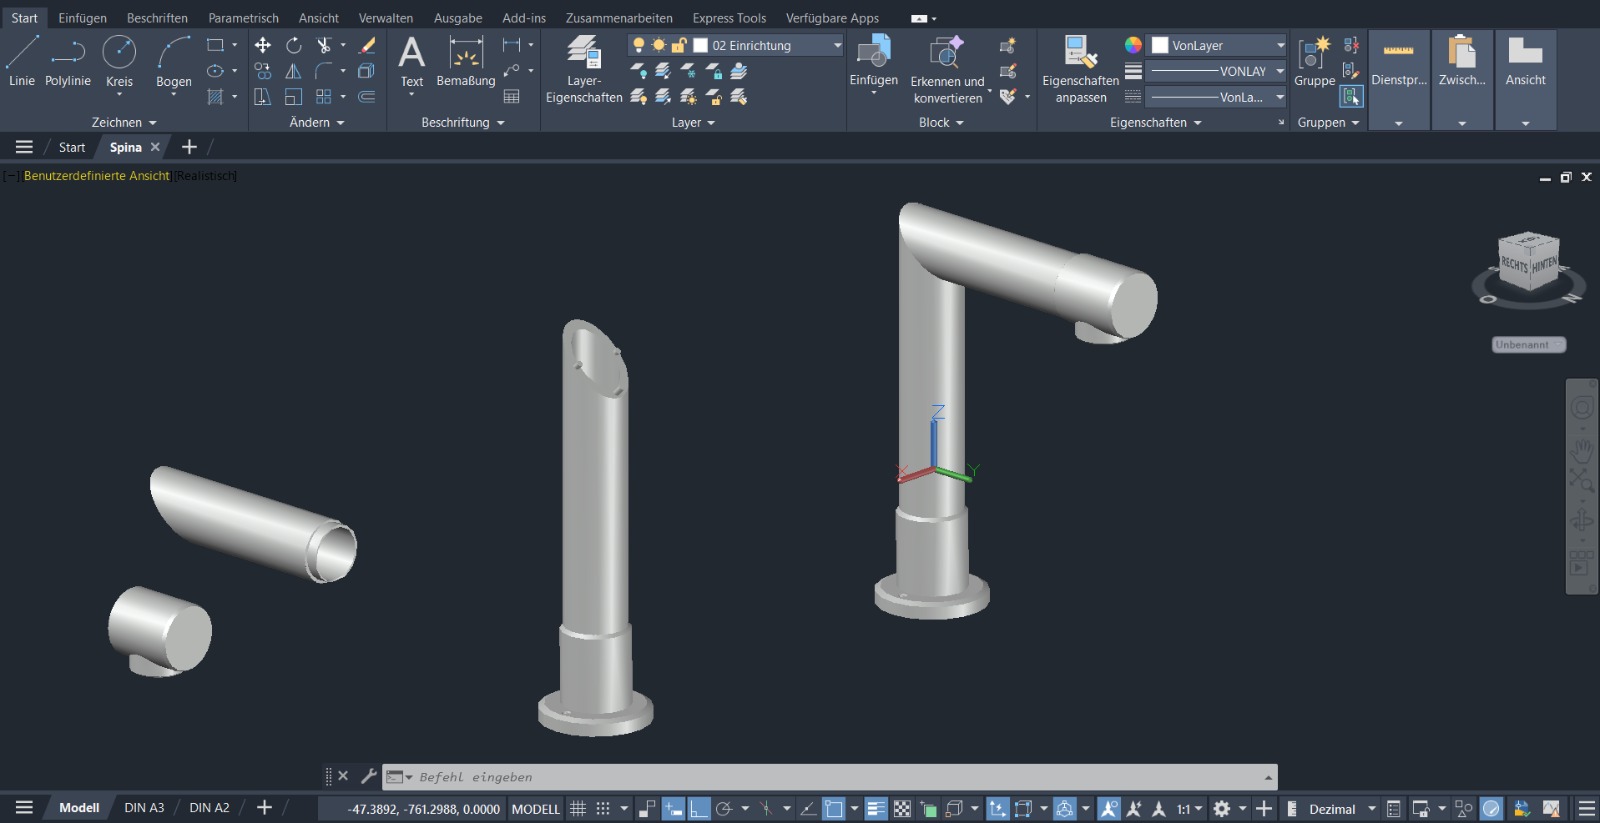
3D Drawing
Before a part could be printed, the complete shape of the part had to be planned and drawn as a model. What mattered was not just the outer surfaces, but especially the internal clearances for pumps, tubes, touch display and electronics.
The model in AutoCAD was therefore the technical foundation for the rest of the project: only if brackets, cable routing and cutouts are carefully thought through does the later assembly work without "improvisation" and "tinkering" ;)
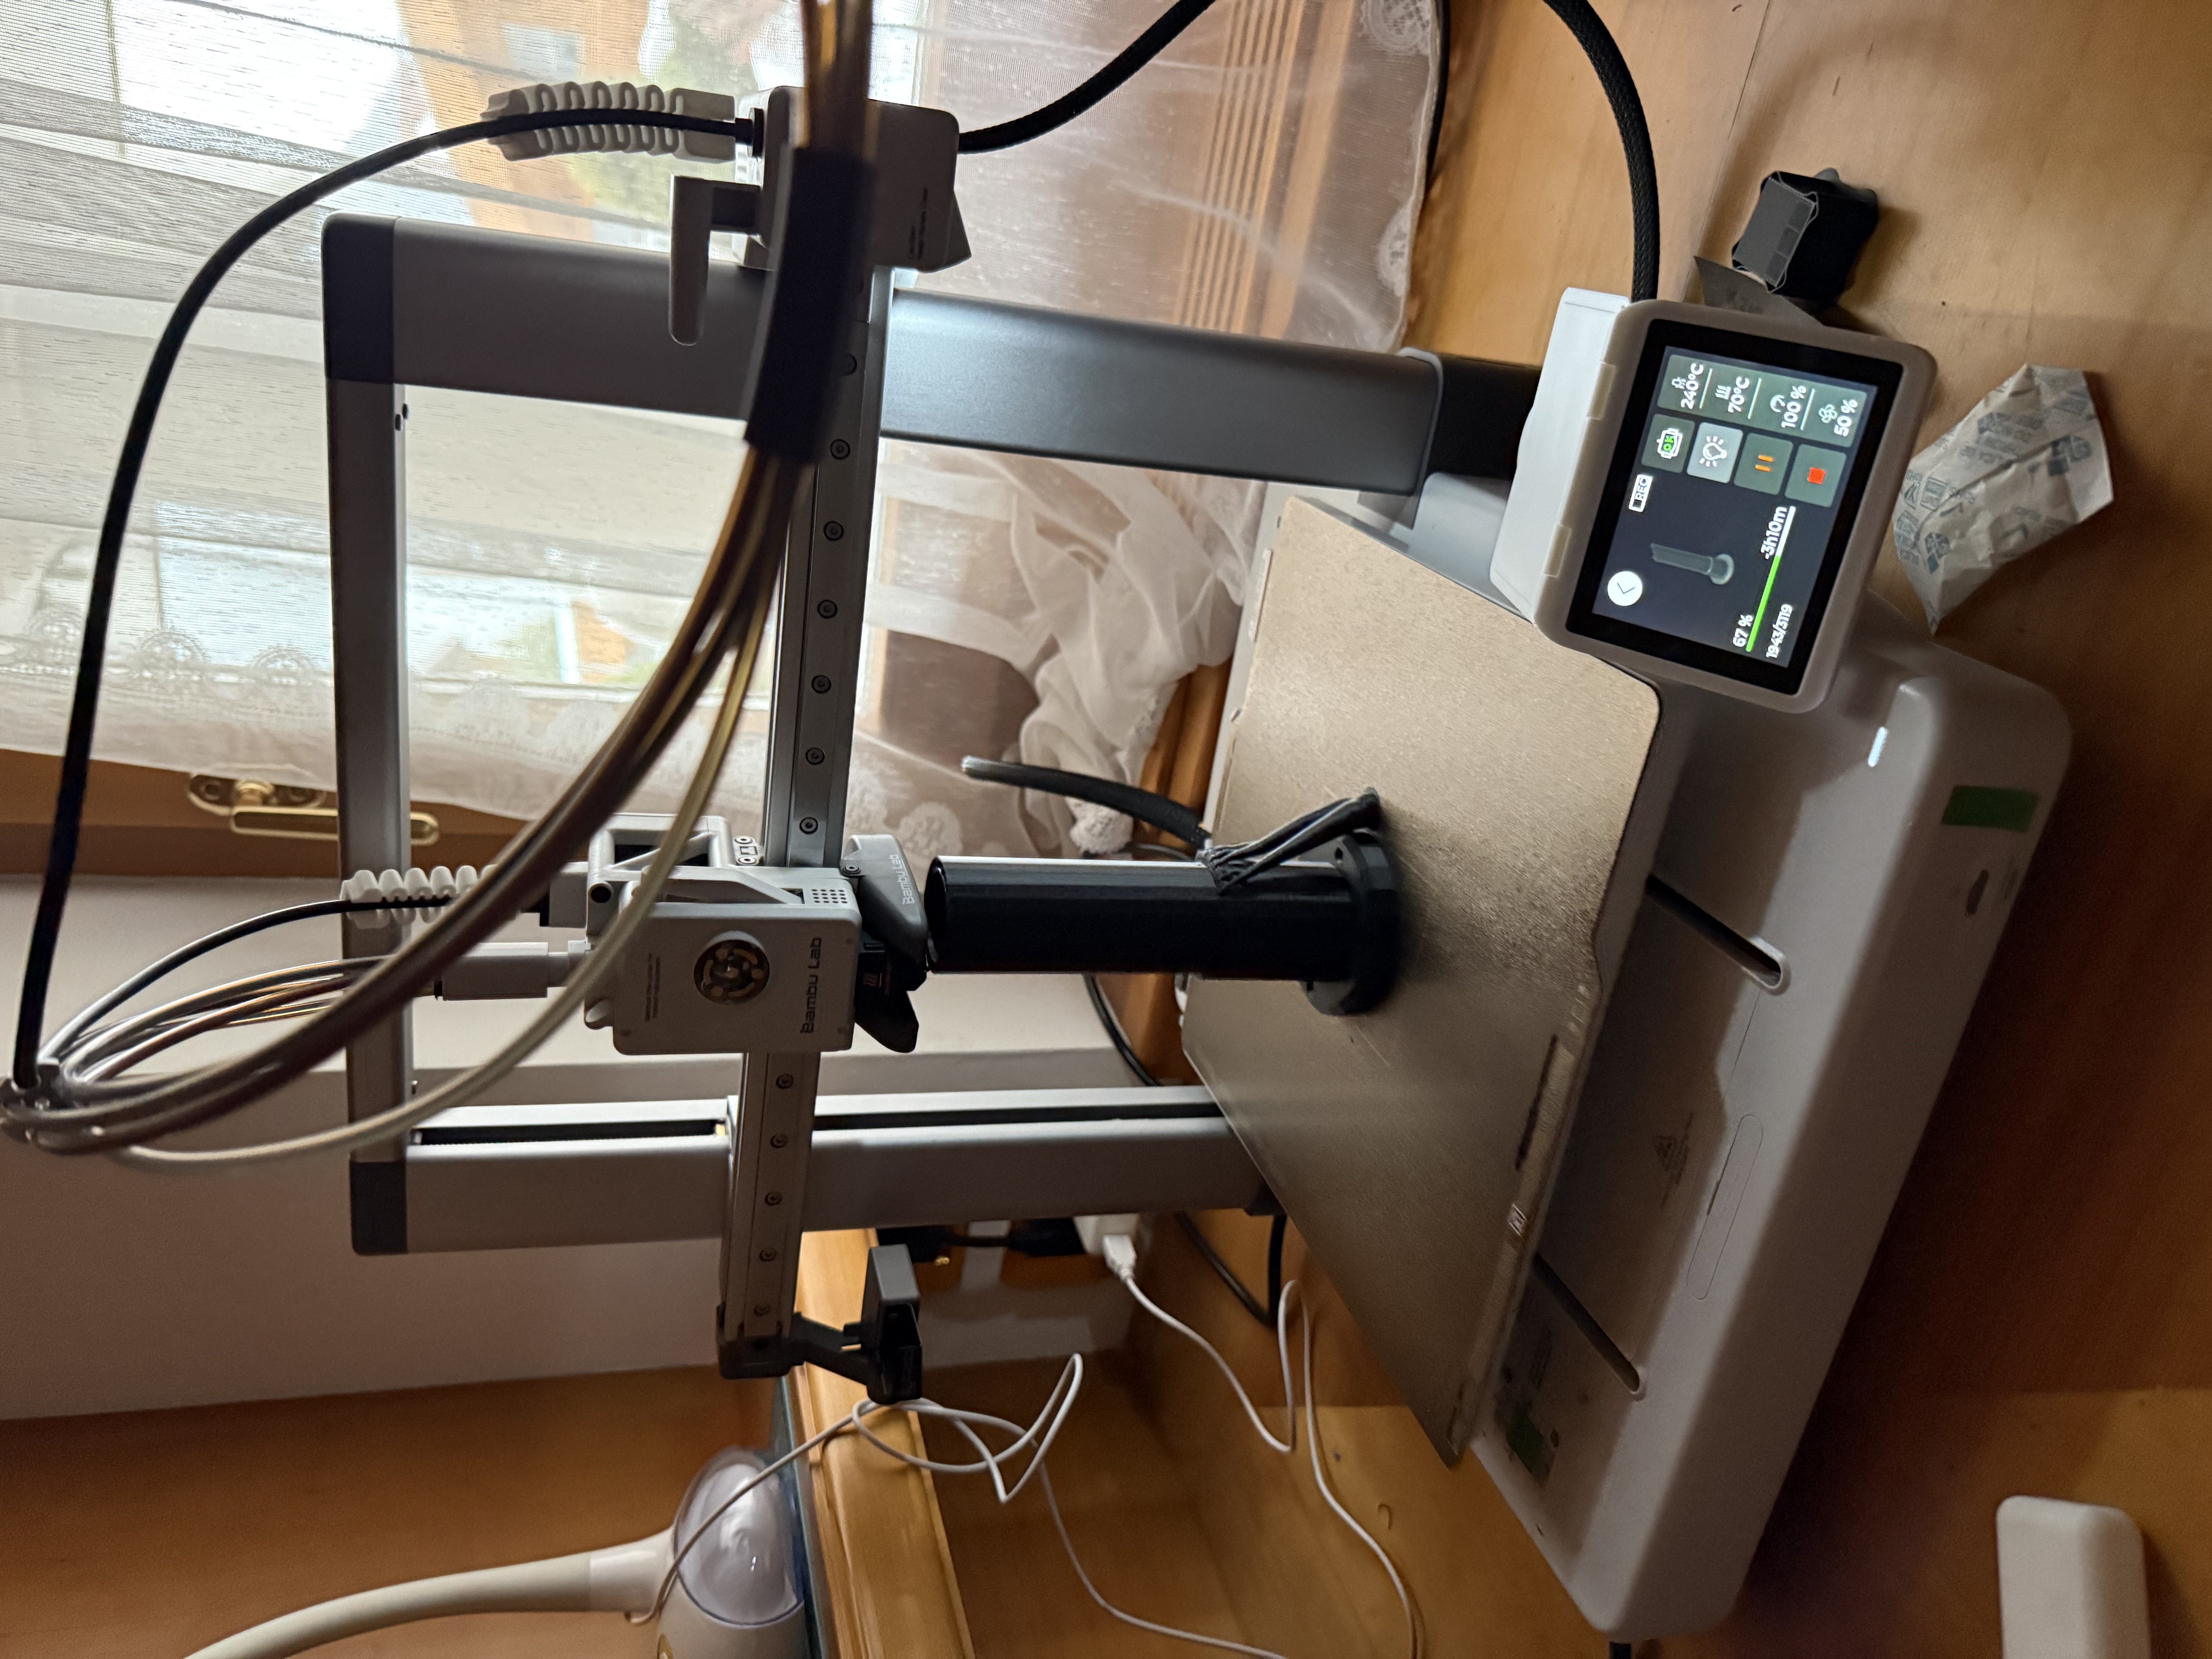
3D Printing
After modelling, the parts were printed with the 3D printer. Each component had to be oriented so that stability, print time and surface quality worked together. With a total of 25 hours of print time, the printable prototype gradually emerged from the printer piece by piece.
After printing, edges were checked and critical spots were post-processed, supports were removed, so that no screw, tube or cable would fail at too-tight spots later on.
Next step
Once the housing and individual parts were prepared, pumps, tubes, electronics and display could be installed step by step. This exact process is documented on the next page.